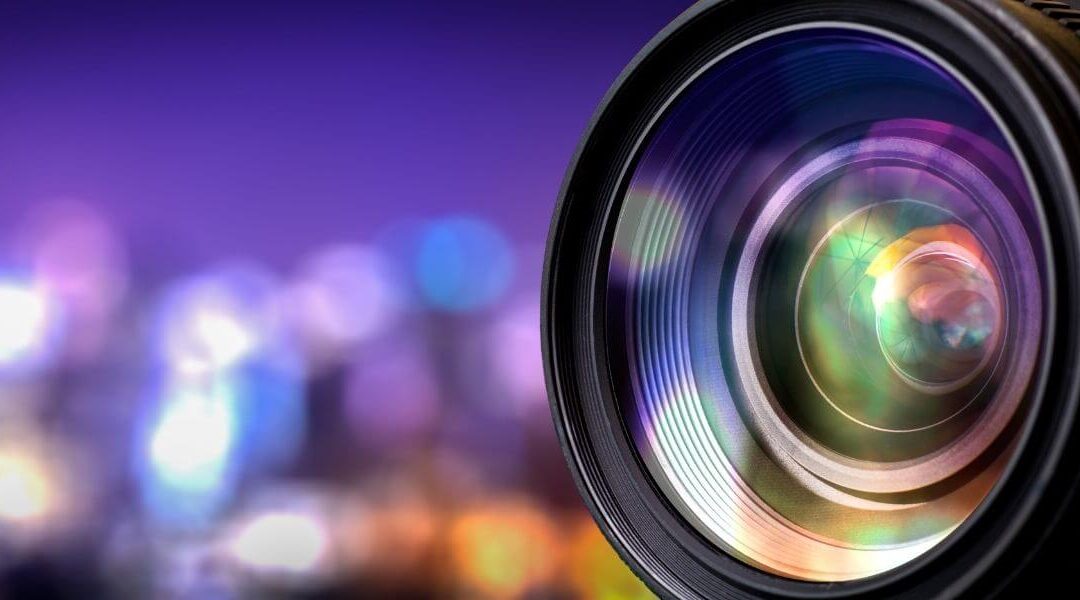
Using images on your website is a great way to get your visitor’s attention. Images can make your message clearer to your reader.
A great image that’s meaningful to your page or post can entice a visitor to stay longer and check out more.
Images can have their challenges though. If not done right, they can slow your page down or even turn readers away. If your image is:
- Blurry or pixelated
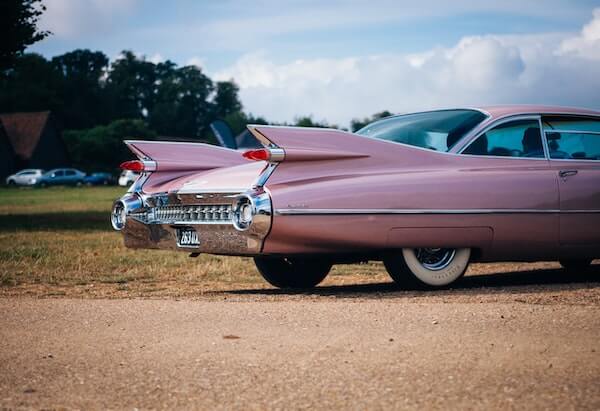
- Not relevant – a pink Cadillac on a page about cats
- Too small… or too big
- The wrong shape
it may do more harm than good.
Want to have great images on your website? Here are a few tips to help…
Using Images on Your Website – the Right Way
Original or Stock Images
If you have the option to use your own images – choose that! But make sure they’re share-worthy.
Don’t have your own? That’s okay. There are lots of sites where you can find free or low-cost images to use.
Canva, Unsplash, Shutterstock and Pixabay are just a few.
Resolution
This is all about how close the pixels (the little colour bits that make up an image) are.
72 DPI is a good number for your website. Any more and the file size will slow your site down. Any less and your image might be blurry.
Format
JPEG or PNG? There always seems to be a battle about which to use. Here’s how I decide at Pink Toad Studio…
- I use JPEG (or JPG) when I don’t need a transparent background for the image.
- If I need a transparent background – like for logos – I go for PNG.
Why JPEG most of the time? The images are good quality and the file size is small.
Optimizing
Before you upload any image to your website you should optimize it.
Optimizing means making the image file as small a possible without losing quality.
Why do you need to do this? To help with loading time for your website. Google loves websites that load fast. Want to check yours? Google’s Pagespeed Insights and GTMetrix are free tools you can use.
If your website is slow showing up in a browser like Chrome, check the size of your image files. They are, by far, the leading cause of a slow-loading website.
So, how do you optimize images for your website? There are apps like ImagOptim that you can use on images before you upload them.
Already have images on your website? A plugin like Smush can be used to optimize them. Just be sure to backup before you activate it… just in case!
Size
The closer you can get an image to the size of the space it will fill on your website, the better it will look and the faster it will load.
If WordPress has to resize a large image to fit into a small space, that resizing will take time.
Resizing a small image to fit a bigger space might cause “pixelation” – the blurriness you see when the pixels are stretched too far. And it can take precious time, too.
The Divi theme that I use here at Pink Toad Studio has an Ultimate Guide to Using Images Within Divi. Even if you don’t use Divi, it might help.
Keeping sizes of images for things like blog headers consistent will keep things lined up on your site, too. Something to keep in mind as you add images.

Shape
Avoid image distortion and cropping by choosing the right shaped image.
Fitting a landscape-oriented image into a tall, narrow frame will cut it off or warp it.
Same with a portrait-oriented image, it won’t look right in a short, wide frame.
Relevance
One last tip, make sure, whatever image you use, is relevant to its place on your website.
If you have a blog post about how an internal combustion engine works, a picture of a cute kitty does not belong on that post.
Images are an important part of any website. These tips can help you make them work their magic for you.
All right, so how do you feel about using images on your website now? Did you learn something new? Something helpful? Let us know in the comments below!